Restoration
of my 36HP Rumely #6153
By Jerred Ruble
Disassembly
|
Date |
Picture/Caption |
|
11/20/2010 |
|
|
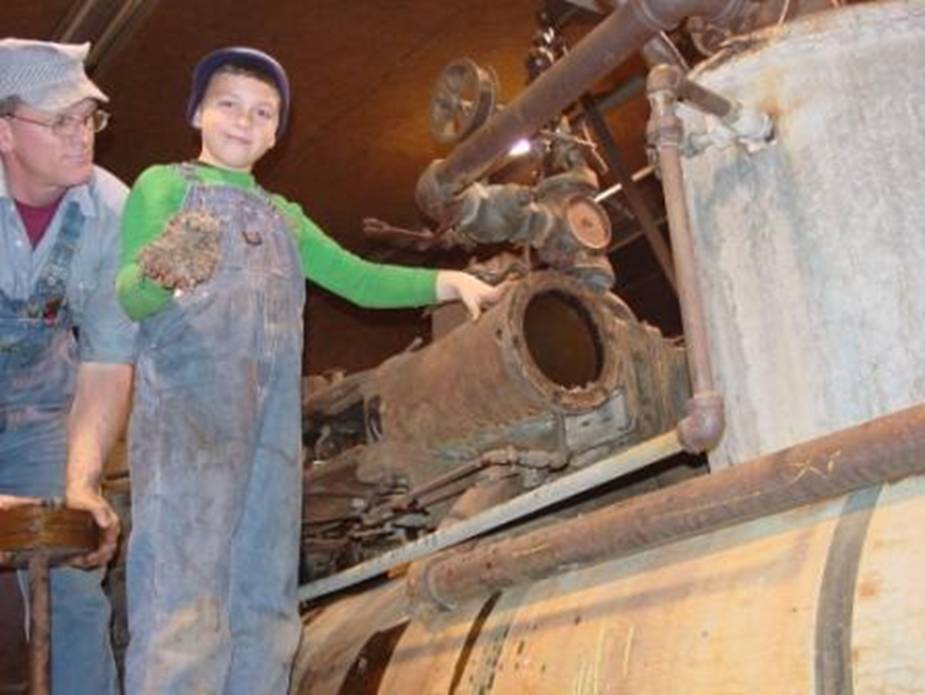
11/20/2010 |
Nicholas
Swanz discovering why the engine would not turn all the way over - some
critters had set up housekeeping inside both cylinders. |
|
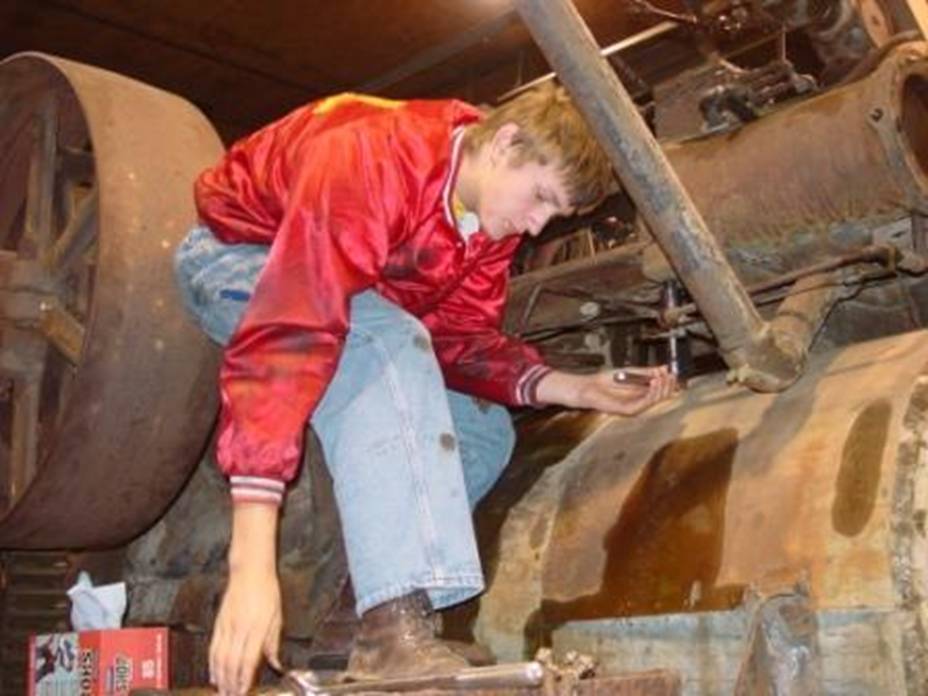
11/21/2010 |
Collin
removing some of the engine mounting bolts. |
|
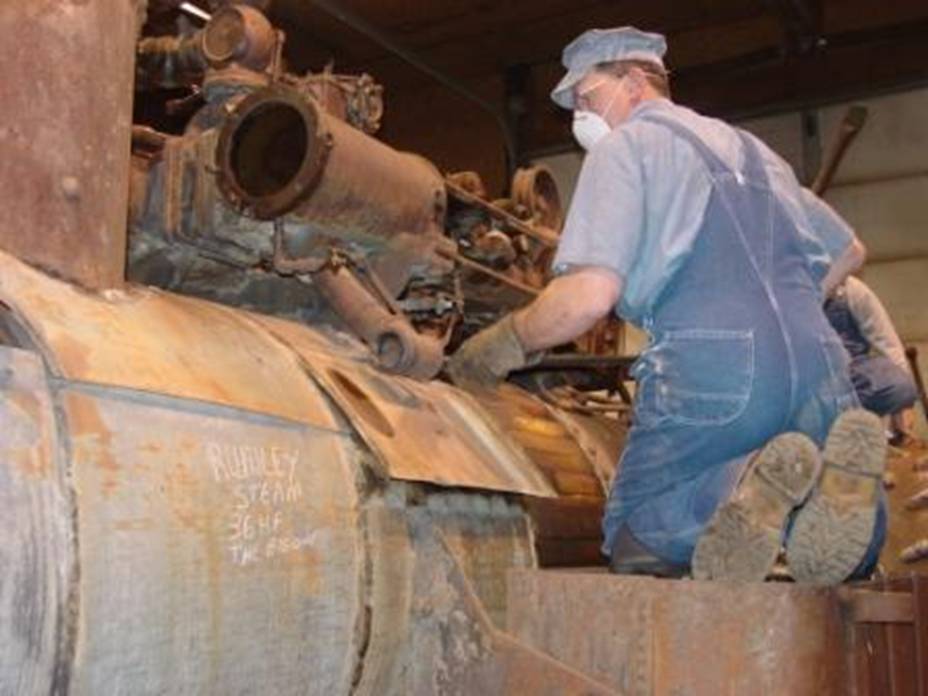
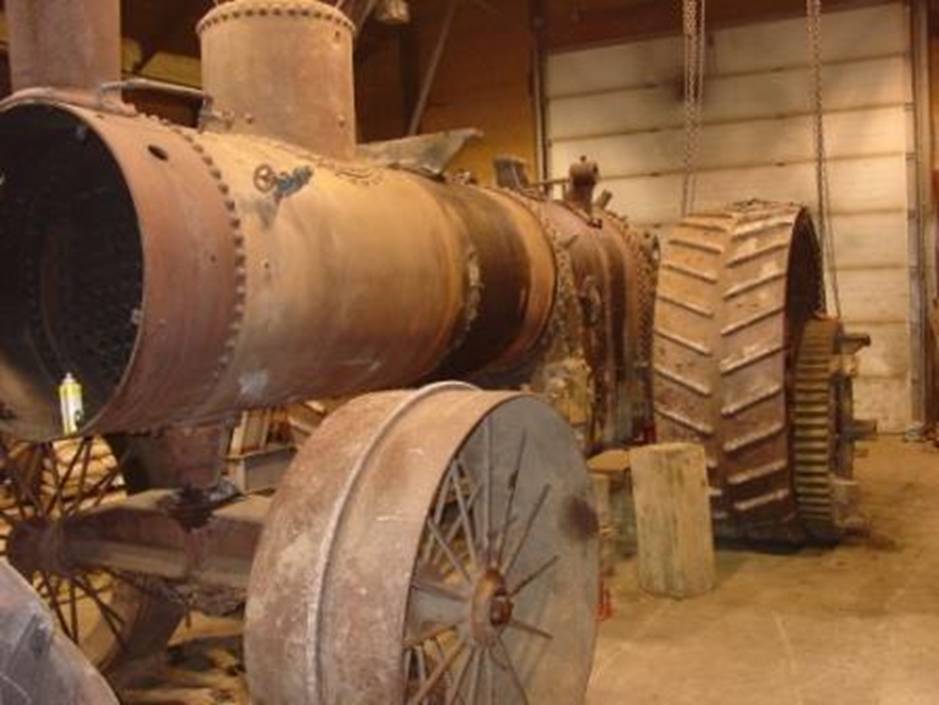
11/21/2010 |
Although
we got excellent reading on the flue sheets and firebox, we needed to remove
the jacketing and get thickness reading of the barrel to ensure of the
overall condition of the boiler. Here |
|
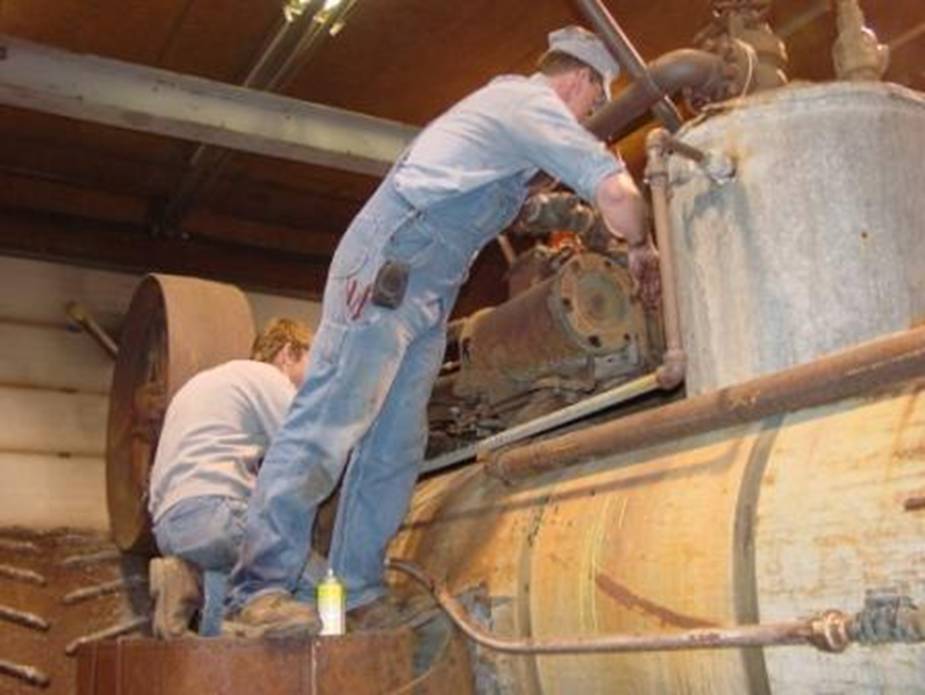
11/21/2010 |
It
wasn’t long and the engine proper was separated from the rest of the engine.
Here I am guiding the engine proper down to blocking sitting beside the rest
of the engine. |
|
11/21/2010 |
Here
the engine proper sets beside the rest of the engine on wooden blocking. |
|
11/25/10 |
When
we took a closer look at the engine proper we could see that the valve stem
was broken in two. After removing the steam chest cover we discovered that
the slide valve was broken into two pieces as well. It was obvious that
something bad had happened that took the engine out of service. Based on the
ware on the gearing and engine components though, the owners got their moneys worth before the catastrophic event occurred. |
|
11/27/2010 |
After
Lawrence made the modifications necessary to support the engine proper, we
moved the engine from the blocking we had set it on a week earlier to the
newly modified cart.. Here Collin and his grandfather Bob Hall guide the
engine unto the modified cart. |
|
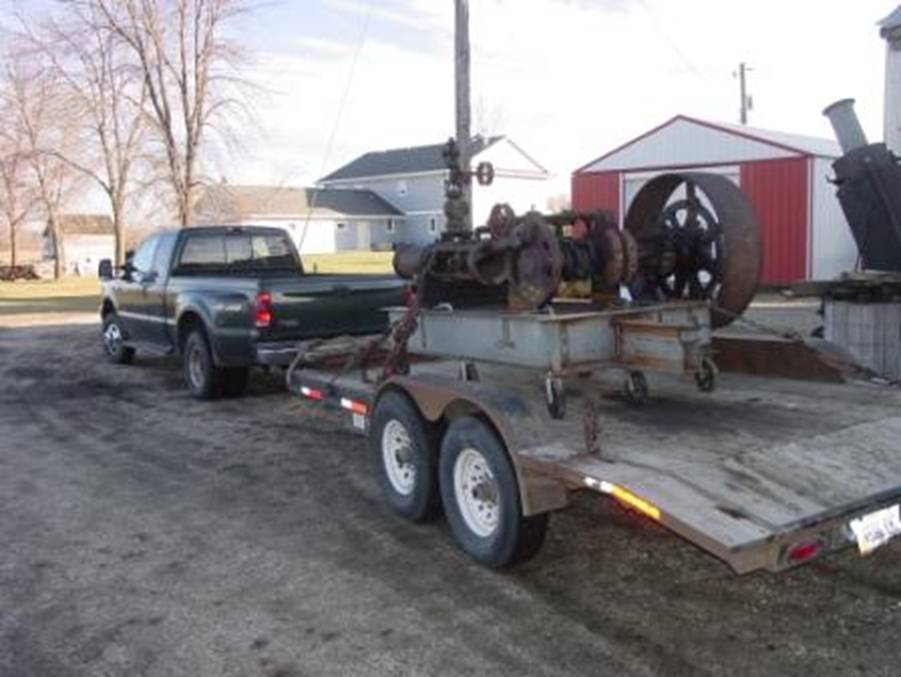
11/27/2010 |
Here
the engine proper is mounted on its cart and on my trailer ready for
transport to |
|
11/27/2010 |
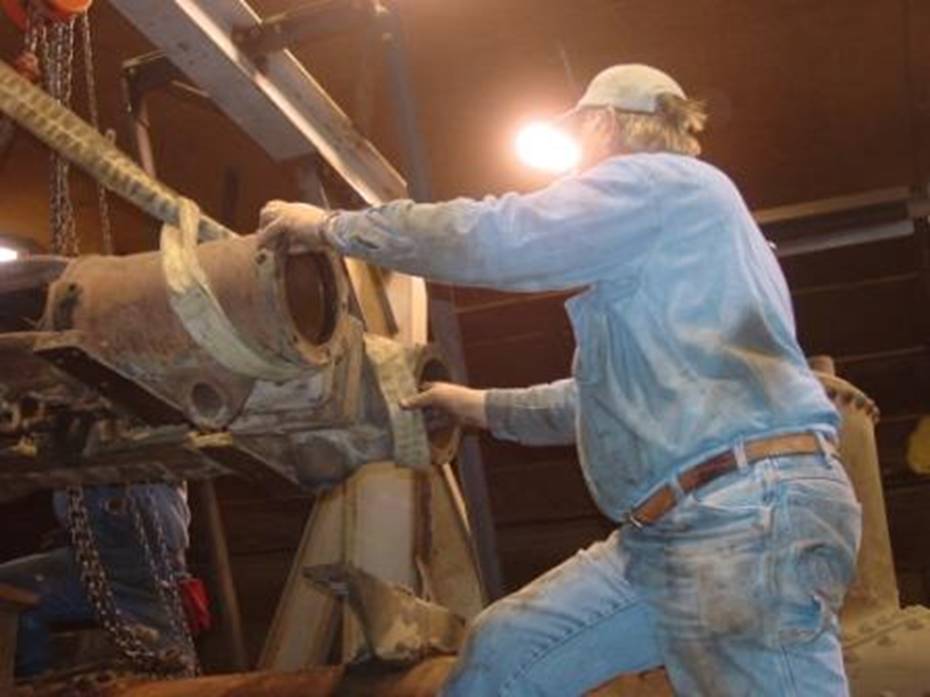
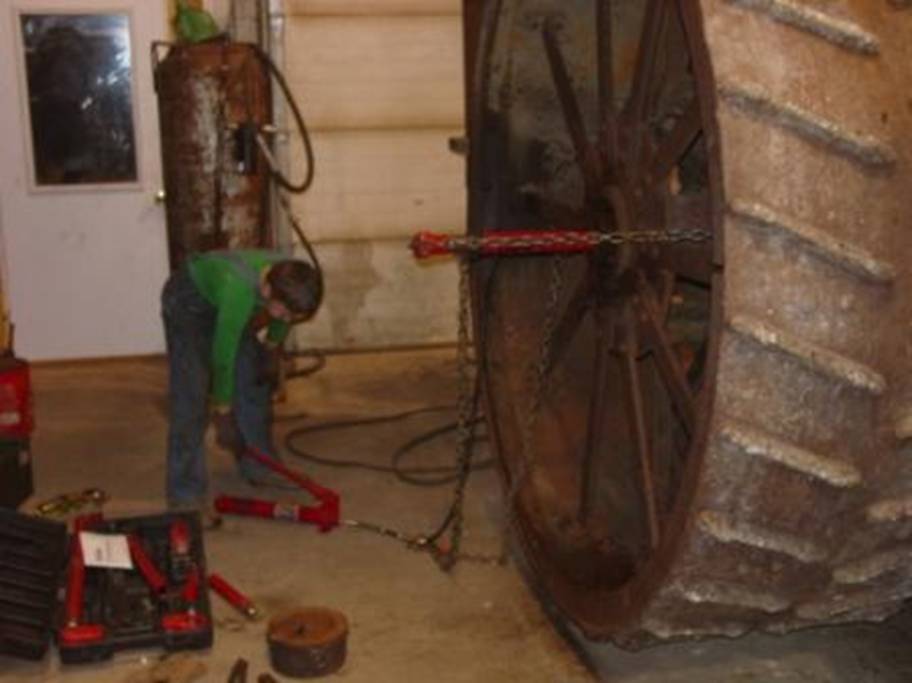
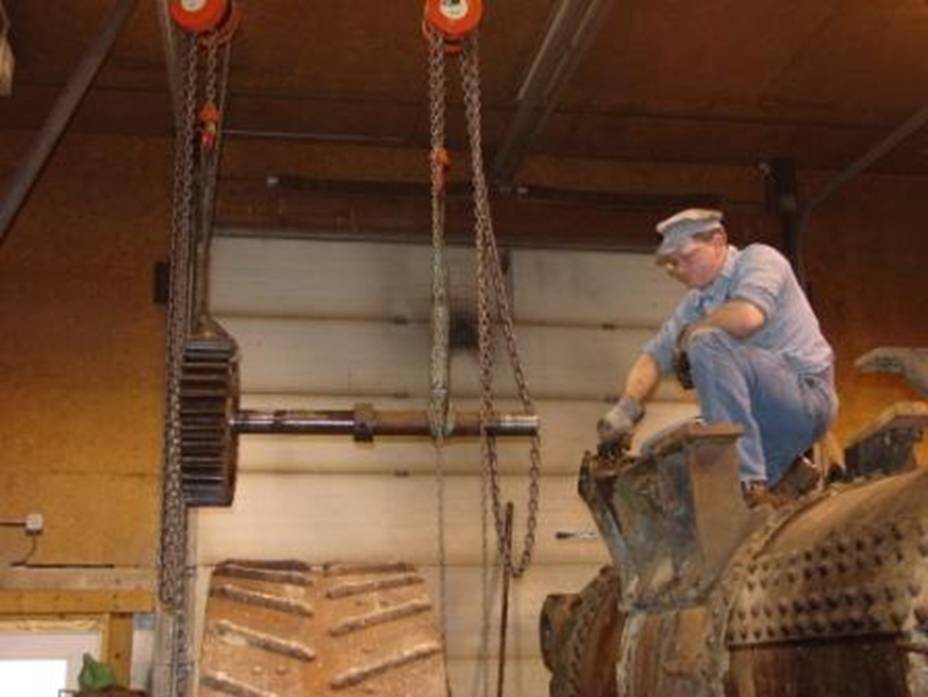
We
next turned our attention to removal of the gearing. Here Nicholas is using a
Porta Power to pull the right driver out so we
could get the differential gear and shaft out. We had a difficult time getting
the hubs removed from the driver axle. We had to torch the locking pins down
so the hub would come off. This required lots of heat, pounding, and
penetrating oil to accomplish. It took us several hours per hub. |
|
11/28/2010 |
Once
both drivers were out past the differential gearing we were able to remove
it. |
|
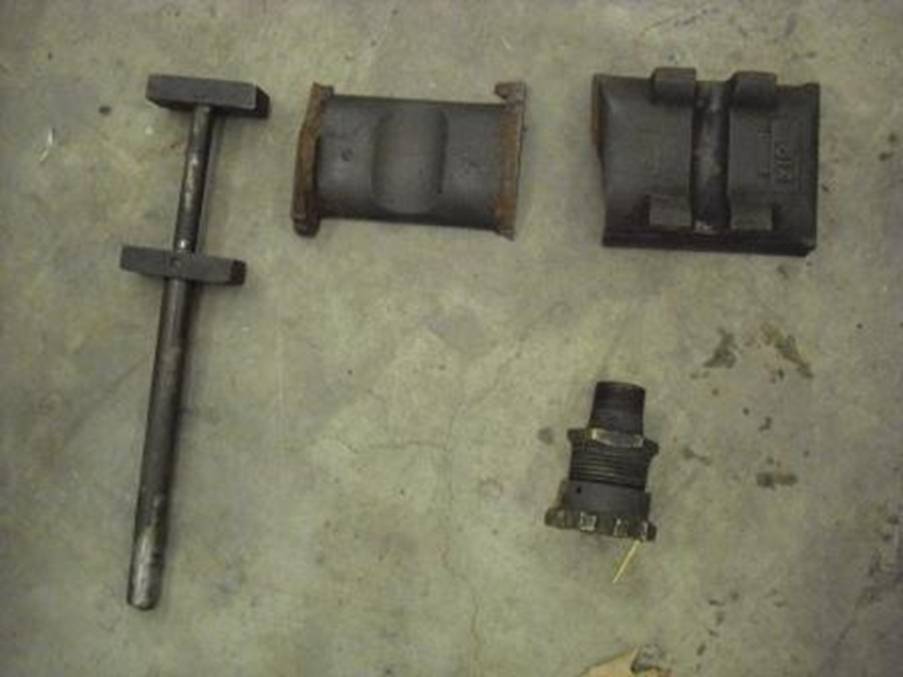
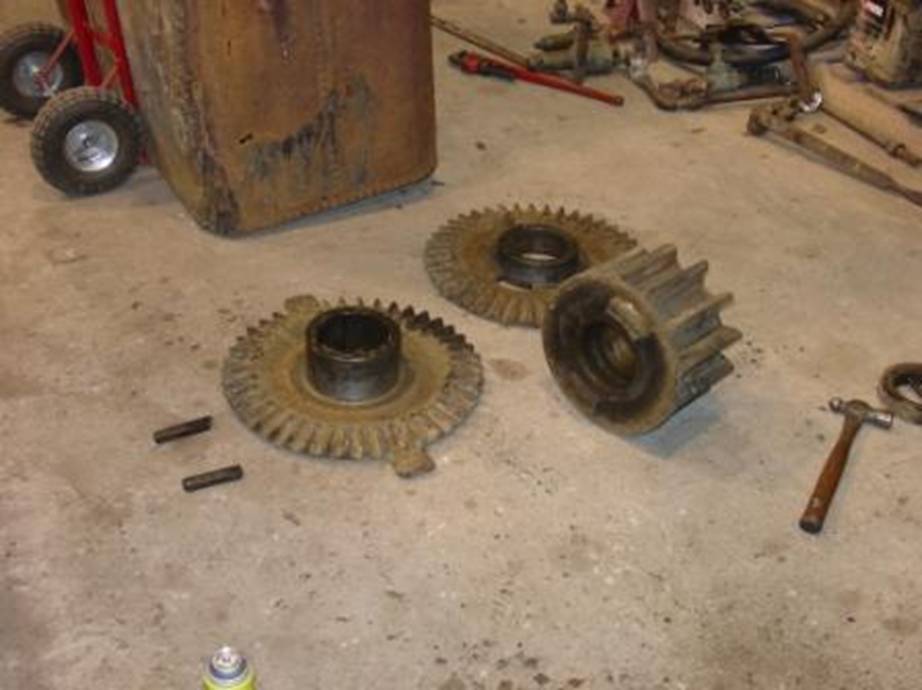
11/28/2010 |
Surprisingly,
the differential came apart very nicely thanks to the locking cap threads
being stripped. |
|
11/28/2010 |
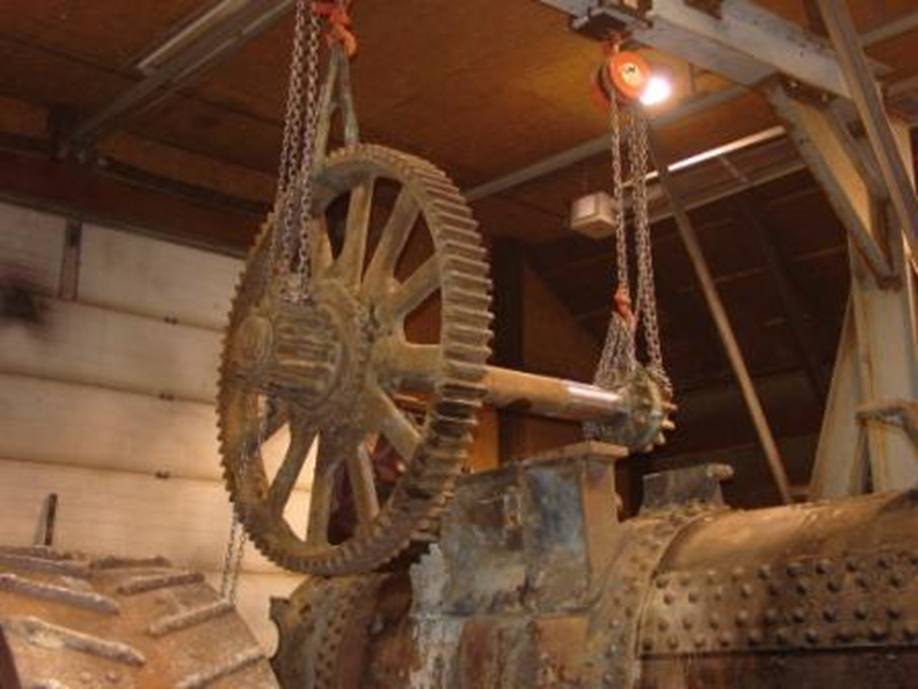
Removal
of the intermediate gear and countershaft quickly followed. |
|
11/28/2010 |
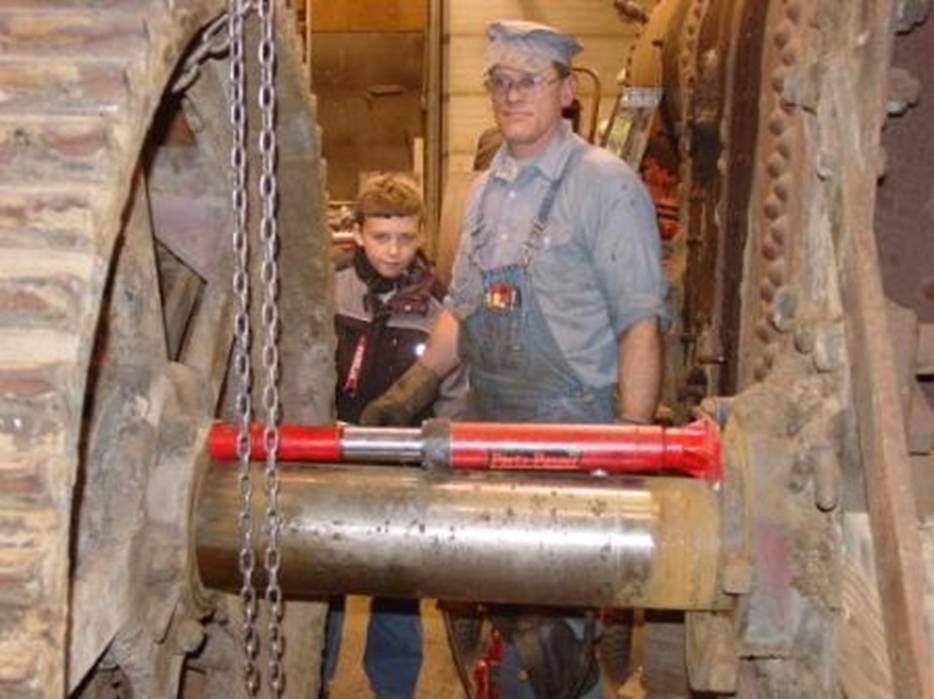
Next,
we went to removing the left rear driver so we could remove the bull gear.
Here Lawrence and Nicholas are pushing the driver out with the aid of a Porta Power. |
|
11/28/2010 |
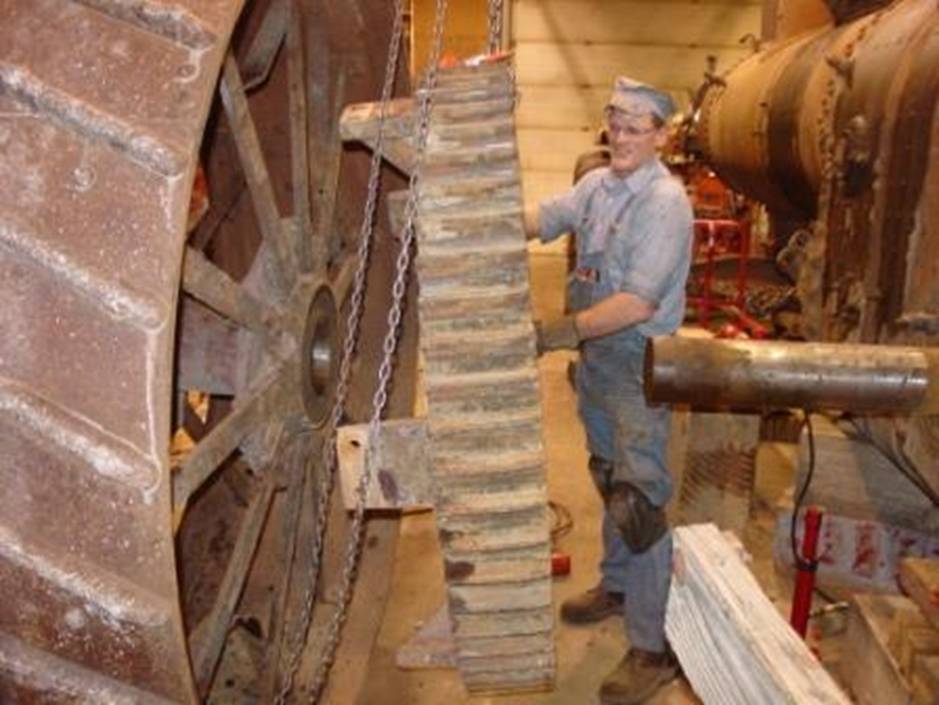
After
the bull gear was removed, we noticed one of the spokes in the gear was
broken clear through. From this and the overall condition of the gearing, it
was obvious that the old girl had been doing some serious pulling in her day. |
|
11/28/2010 |
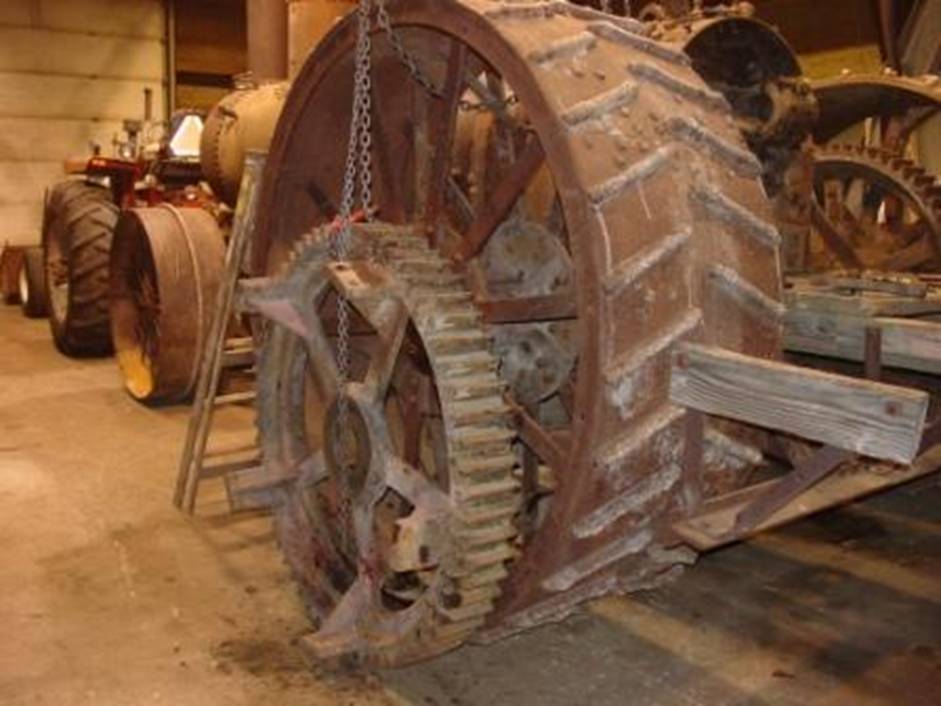
We
put the naked driver back on the engine and moved the bull gear along side for safekeeping. |
|
11/28/2010 |
|
|
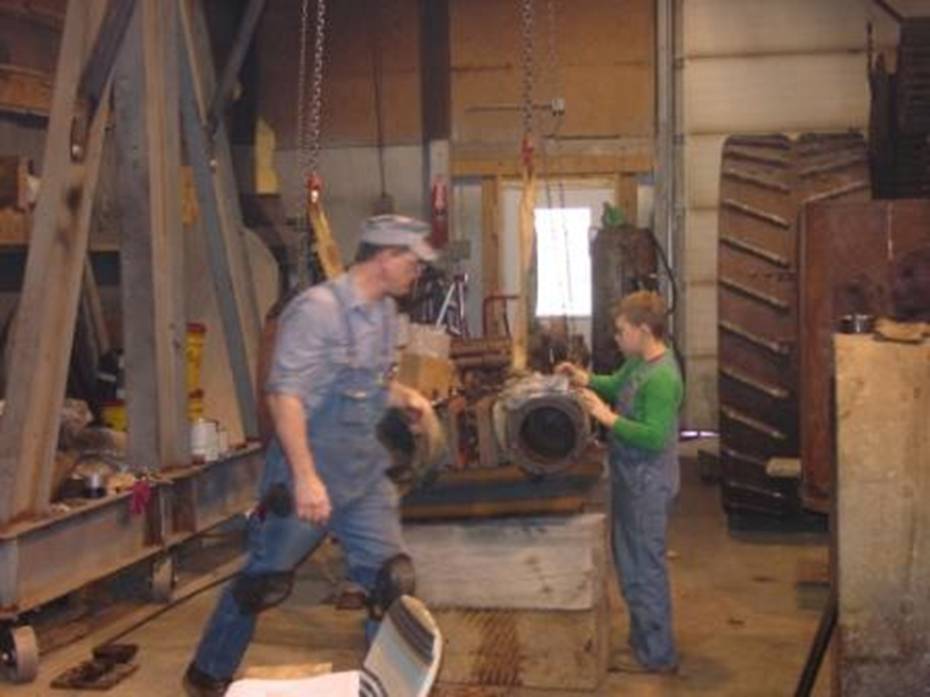
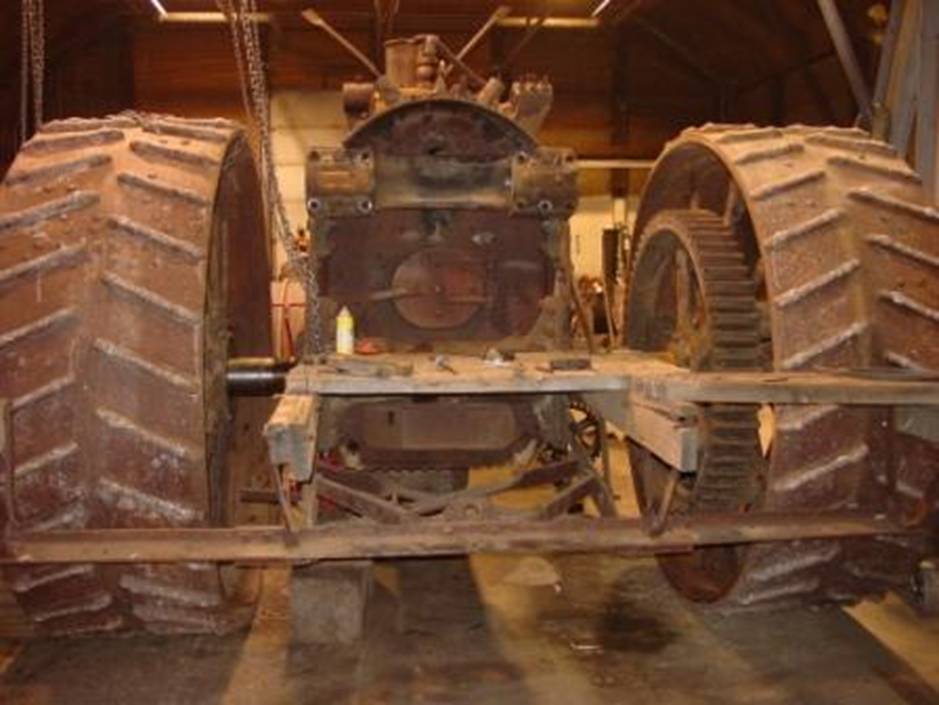
11/28/2010 |
The
above pictures show the state of the project after a couple of weekends of
work. I wish assembly would go as fast. |
|
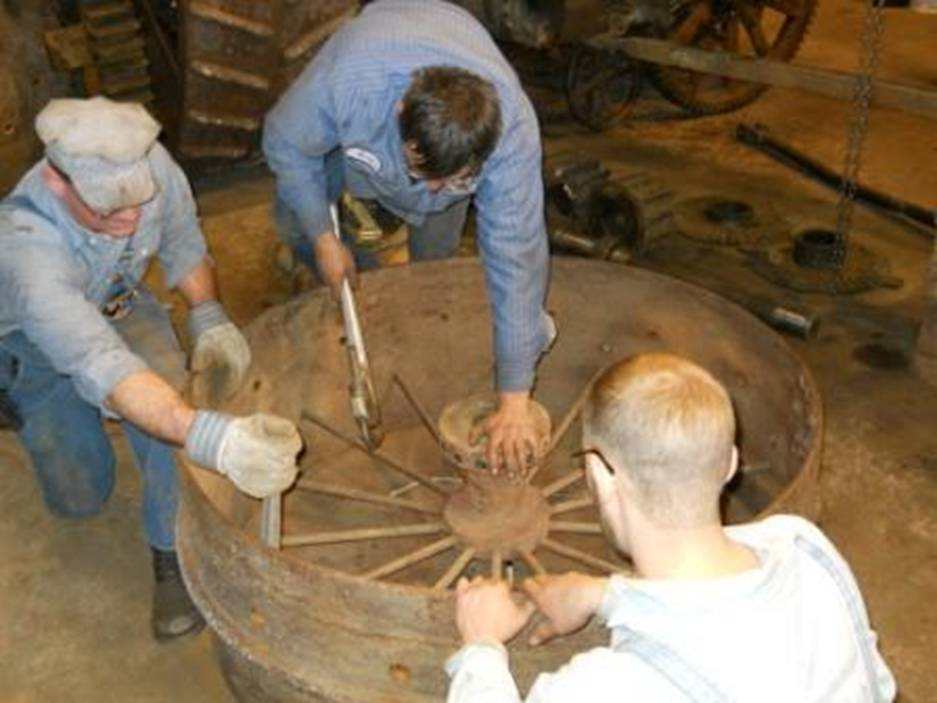
1/23/2011 |
Lawrence, Eric Bremer and Brad Vinkenmeier disassembling
one of the front wheels. One of the hubs was broken and the other badly worn
so we decided to have then both re-furbished, |
|
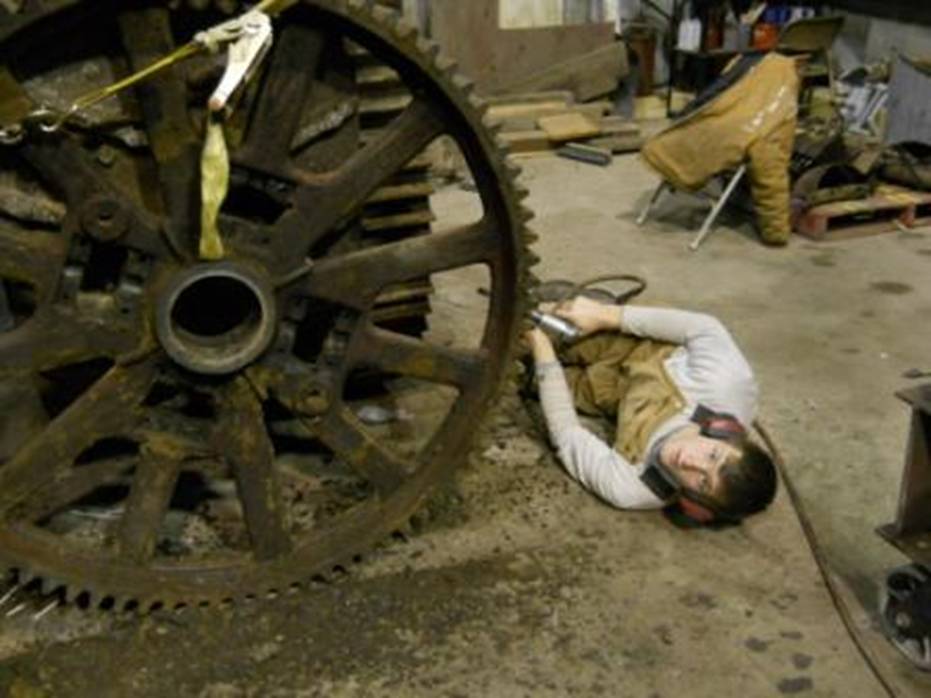
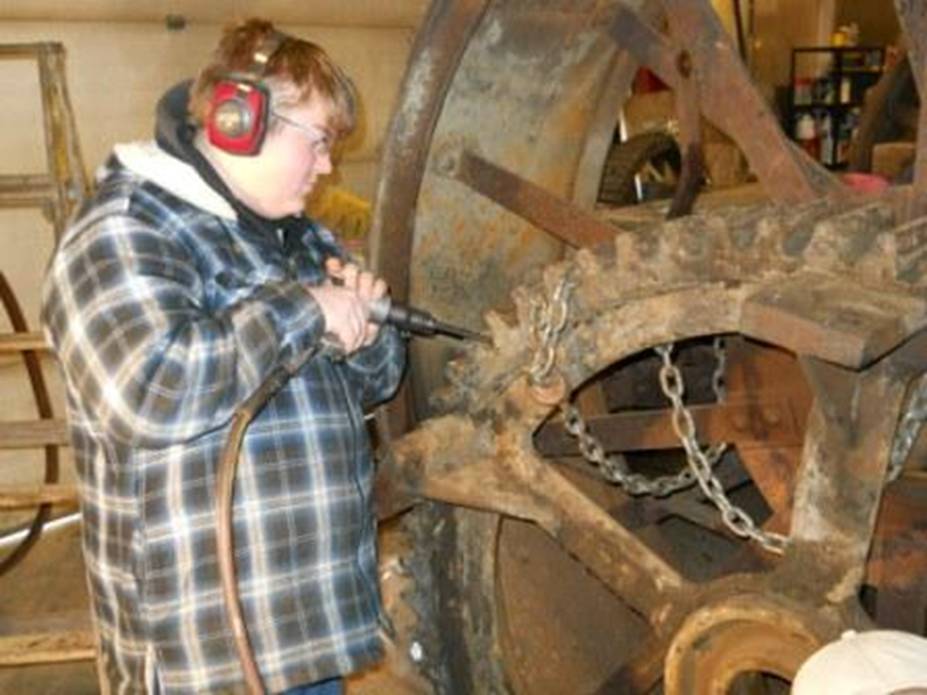
2/12/2012 |
Collin and Cory cleaning bull gears getting them ready to take
to the foundry to have new ones made. |
|
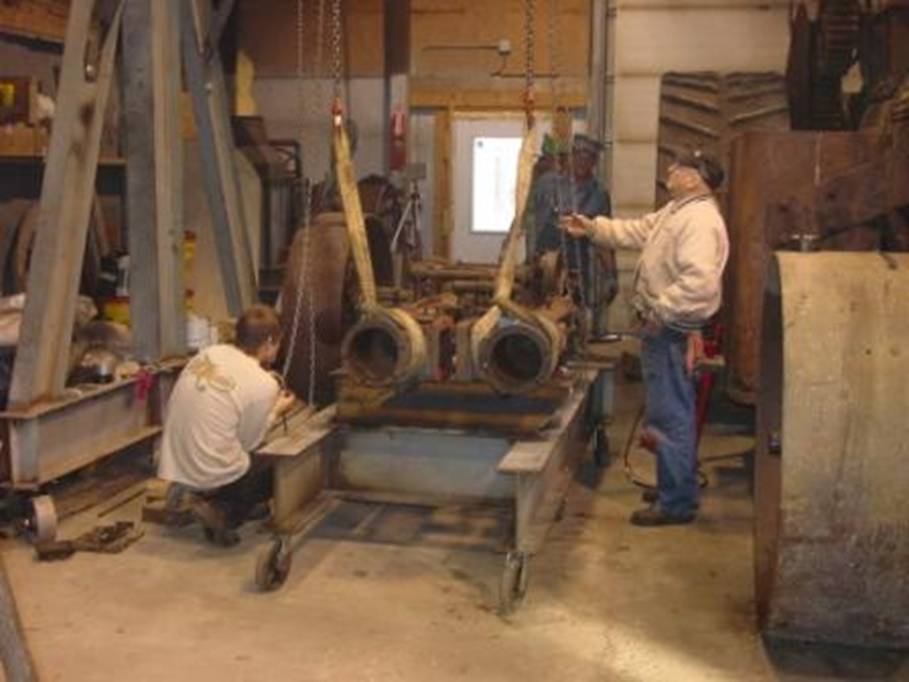
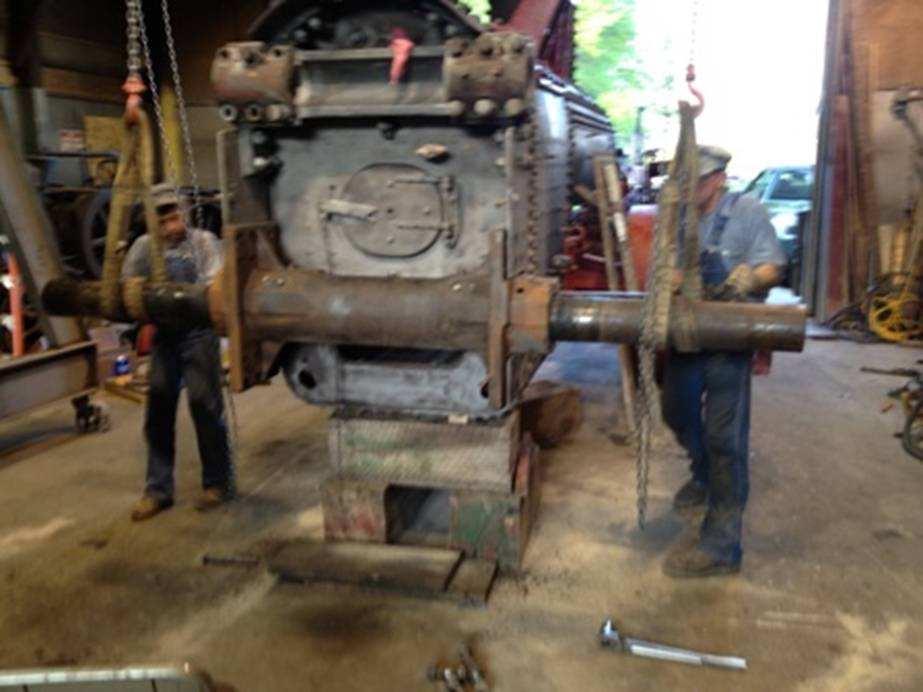
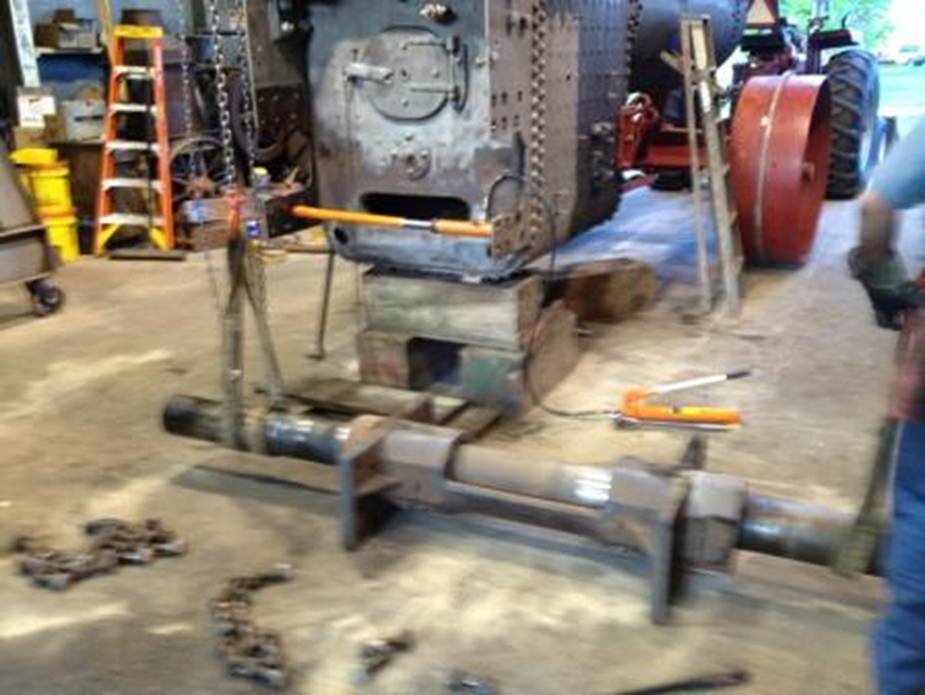
5/13/2012 |
Nicholas and Lawrence removing the lower cannon bearing
with rear axle. |
|
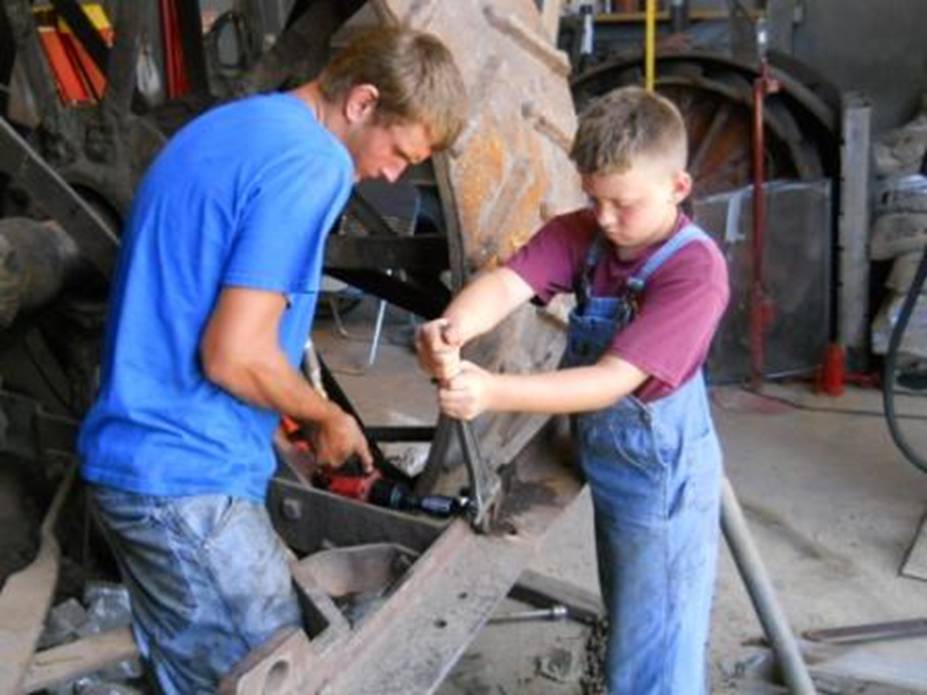
7/11/2012 |
Collin and Nicholas disassembling the rear platform. |